The new catalog designer—the New Beta editor in EasyCatalogs—turns catalog creation into a three-step setup: pick a look, pick a grid, import your products. The app builds the whole document around them: cover, welcome page, table of contents, ordering info, section dividers, and a thank-you back page, all styled to match and all fully editable afterwards.
In this guide we'll build a real catalog from a Shopify store, start to finish: import a collection of VANS sneakers, let the editor flow them into a fashion template, preview the result, and export a print-ready PDF. Every screenshot below is from an actual session—this is exactly what you'll see.
Step 1: Start a New Catalog from the Workspace
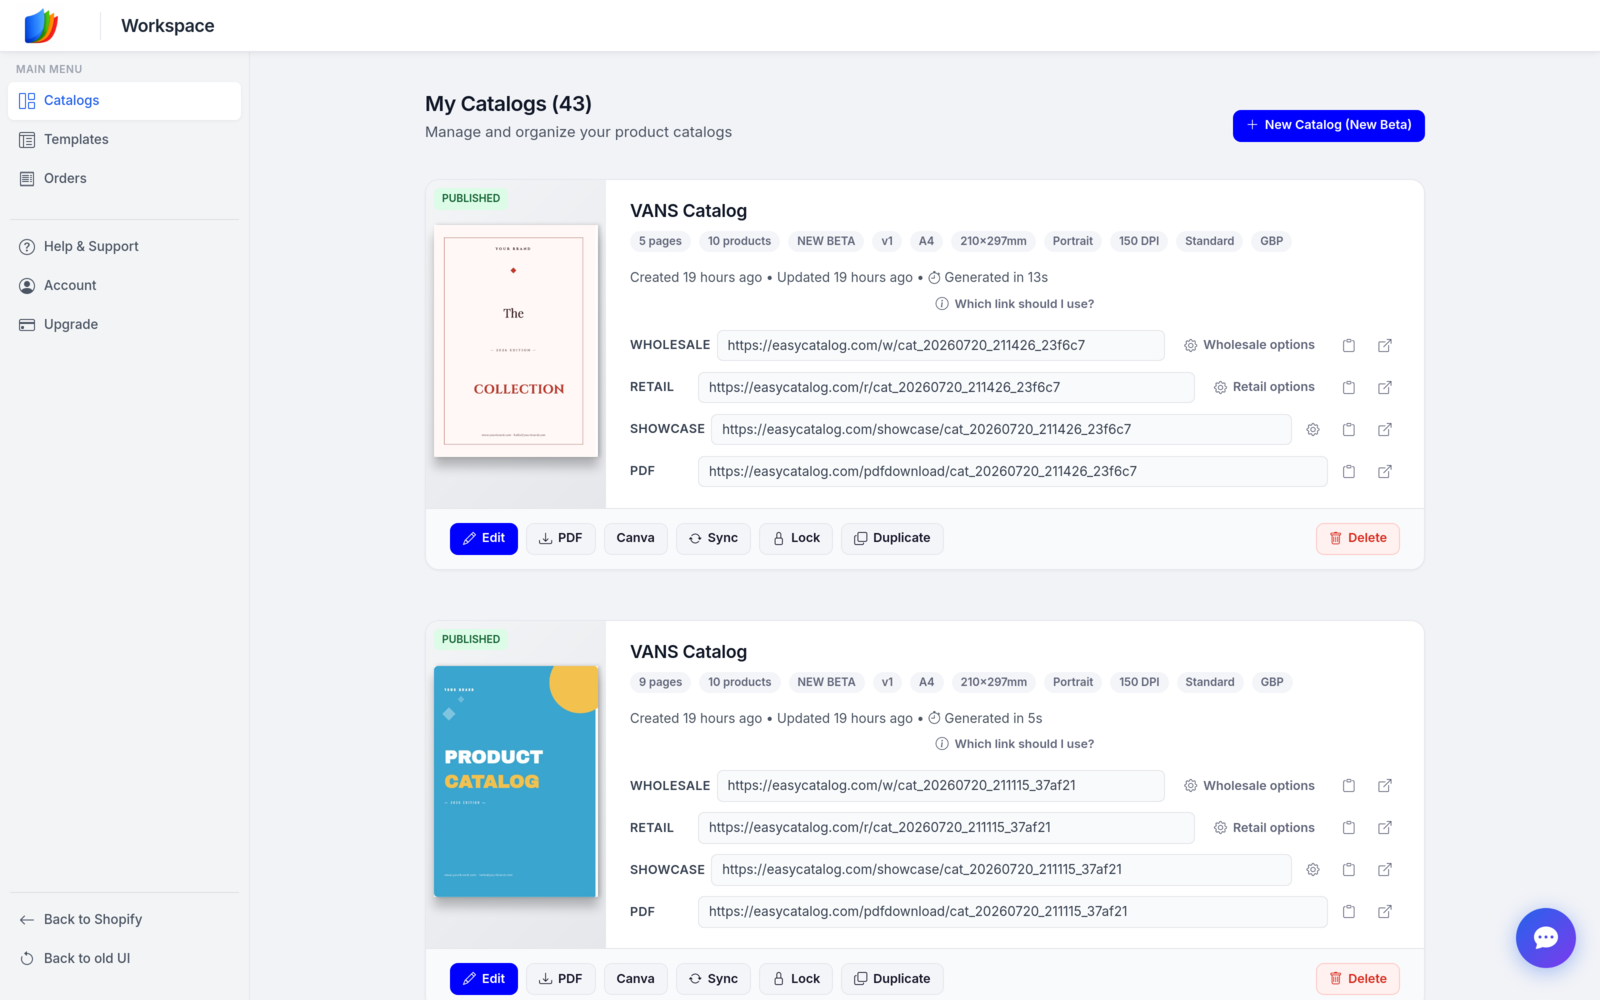
Open the app and go to your Workspace. This is where all your catalogs live, each with its share links. In the top-right corner there's a big blue New Catalog (New Beta) button—click it to open the new designer.
Step 2: Pick a Template
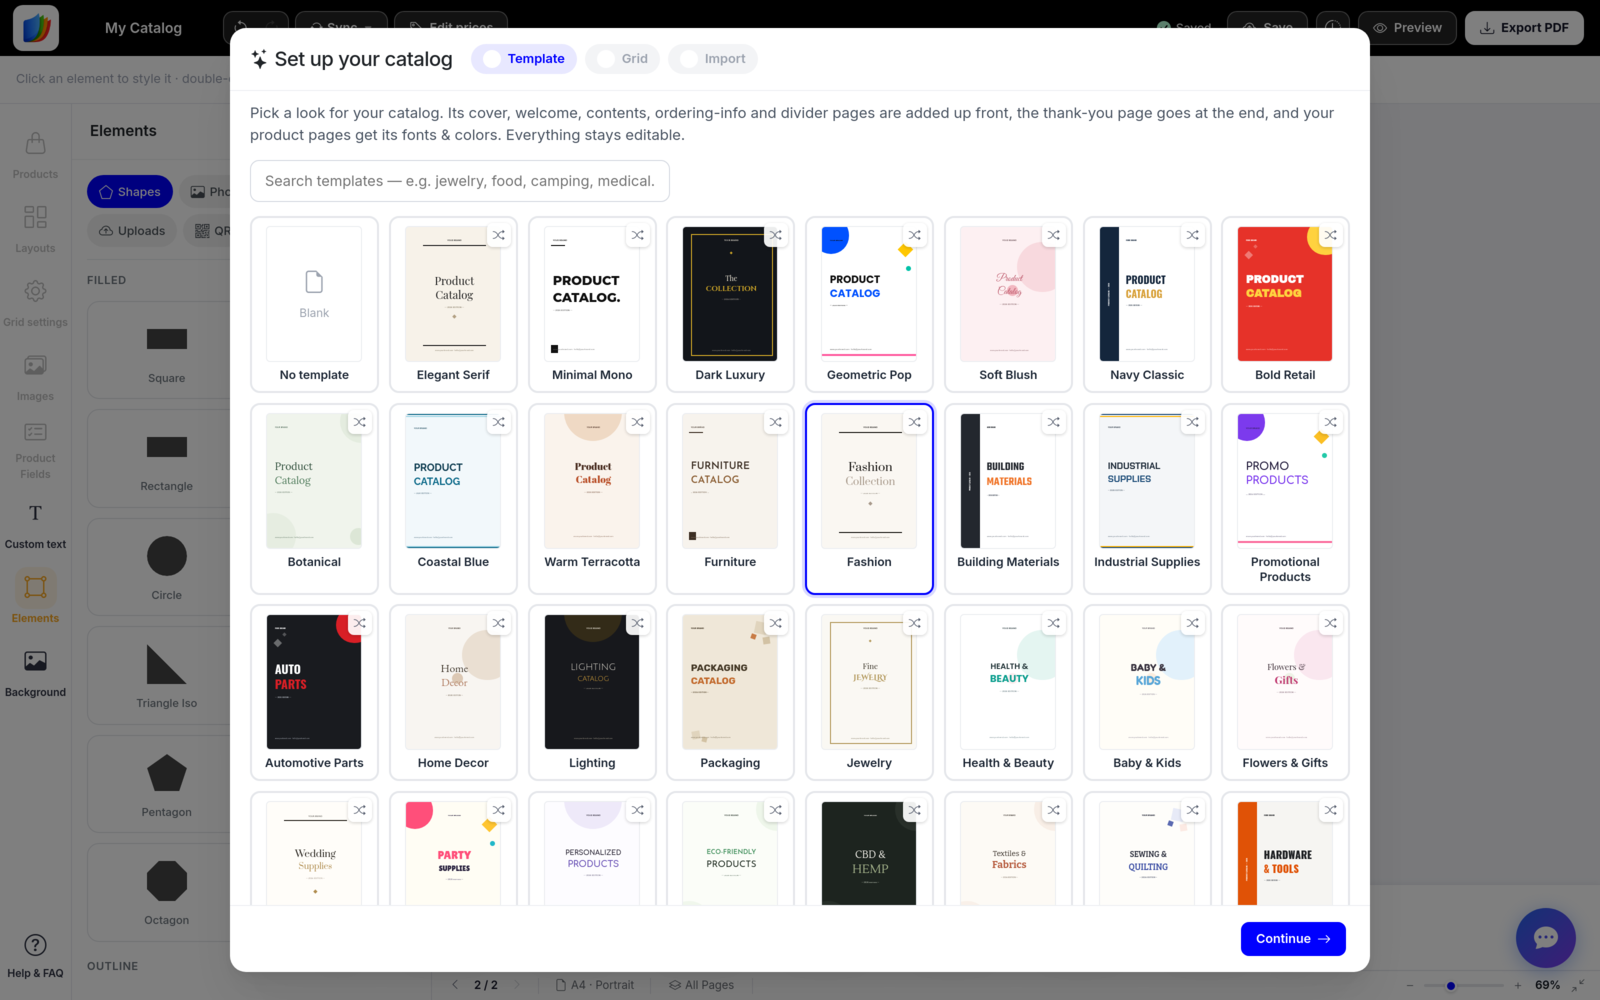
The designer greets you with a short setup wizard: Template → Grid → Import. The first step is the template gallery—searchable, with looks for almost every niche: Fashion, Furniture, Jewelry, Automotive Parts, Home Decor, Health & Beauty, Building Materials, and more. Each template brings its own cover, fonts, and colors.
Since we're building a sneaker catalog, we'll go with Fashion. If you'd rather start from scratch, "No template" gives you a blank document. The shuffle icon on each card re-rolls the template's color palette if you want the same layout in a different mood.
Step 3: Choose How Many Products per Page
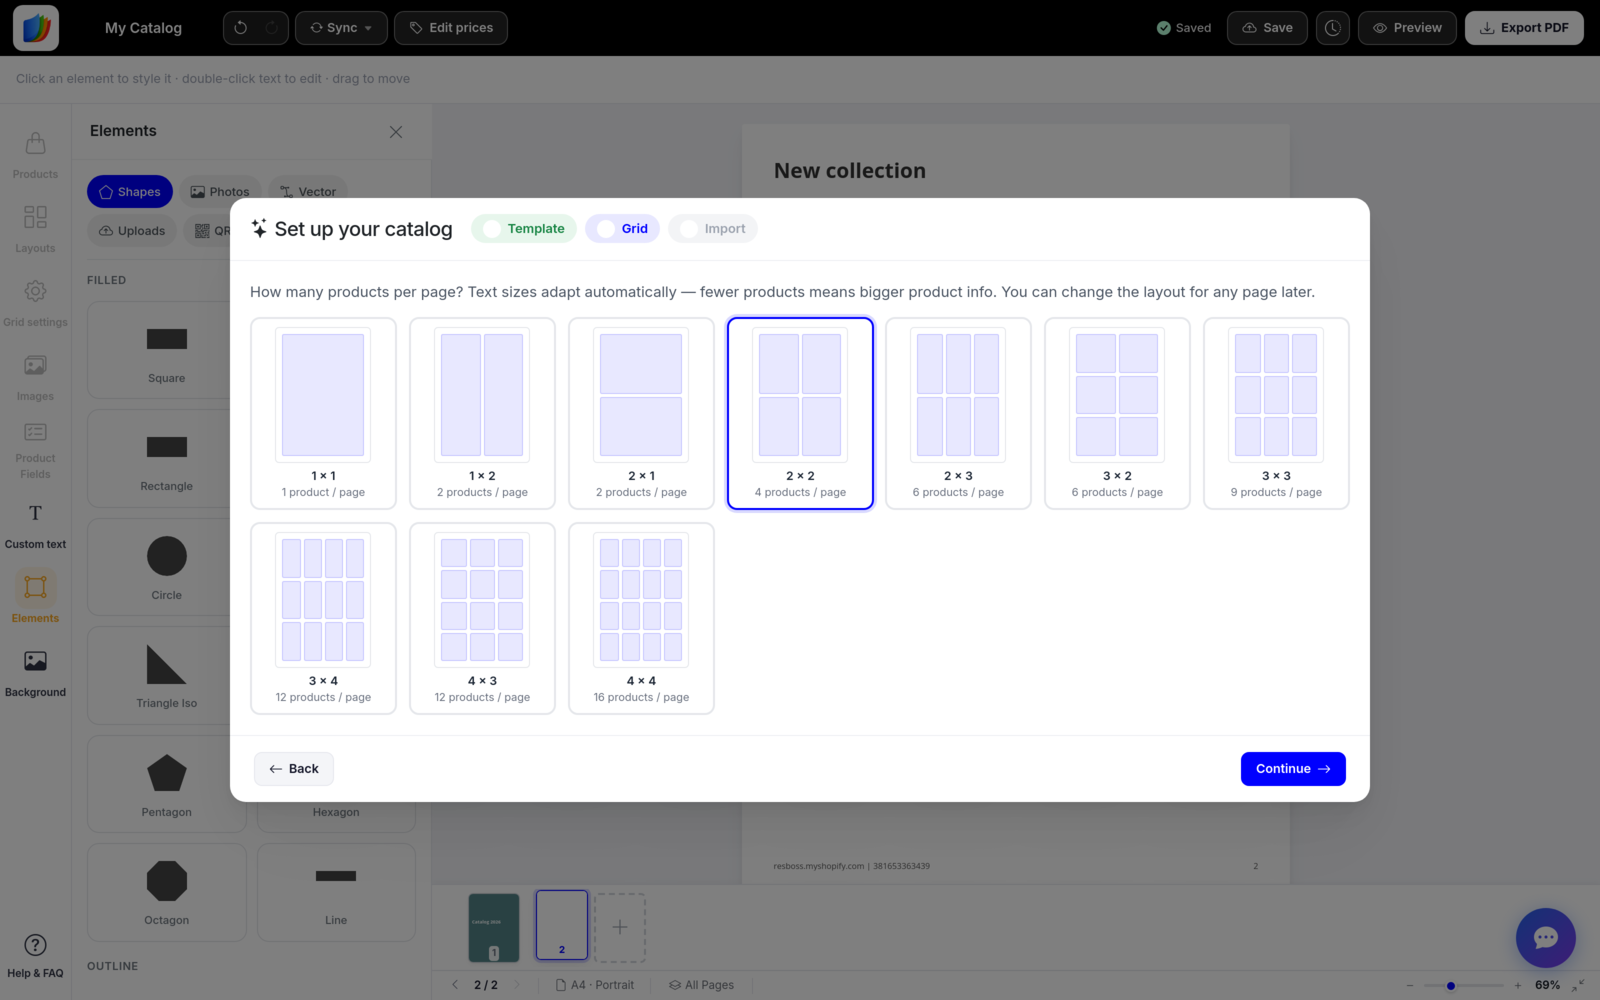
Next, the grid. From a full-page single product (1 × 1) up to a dense 4 × 4 with sixteen products per page—text sizes adapt automatically, so fewer products per page means bigger product info. We'll keep the classic 2 × 2: four products per page, a good balance of visibility and page count.
This isn't a final decision. You can change the layout for any individual page later in the editor.
Step 4: Review and Import
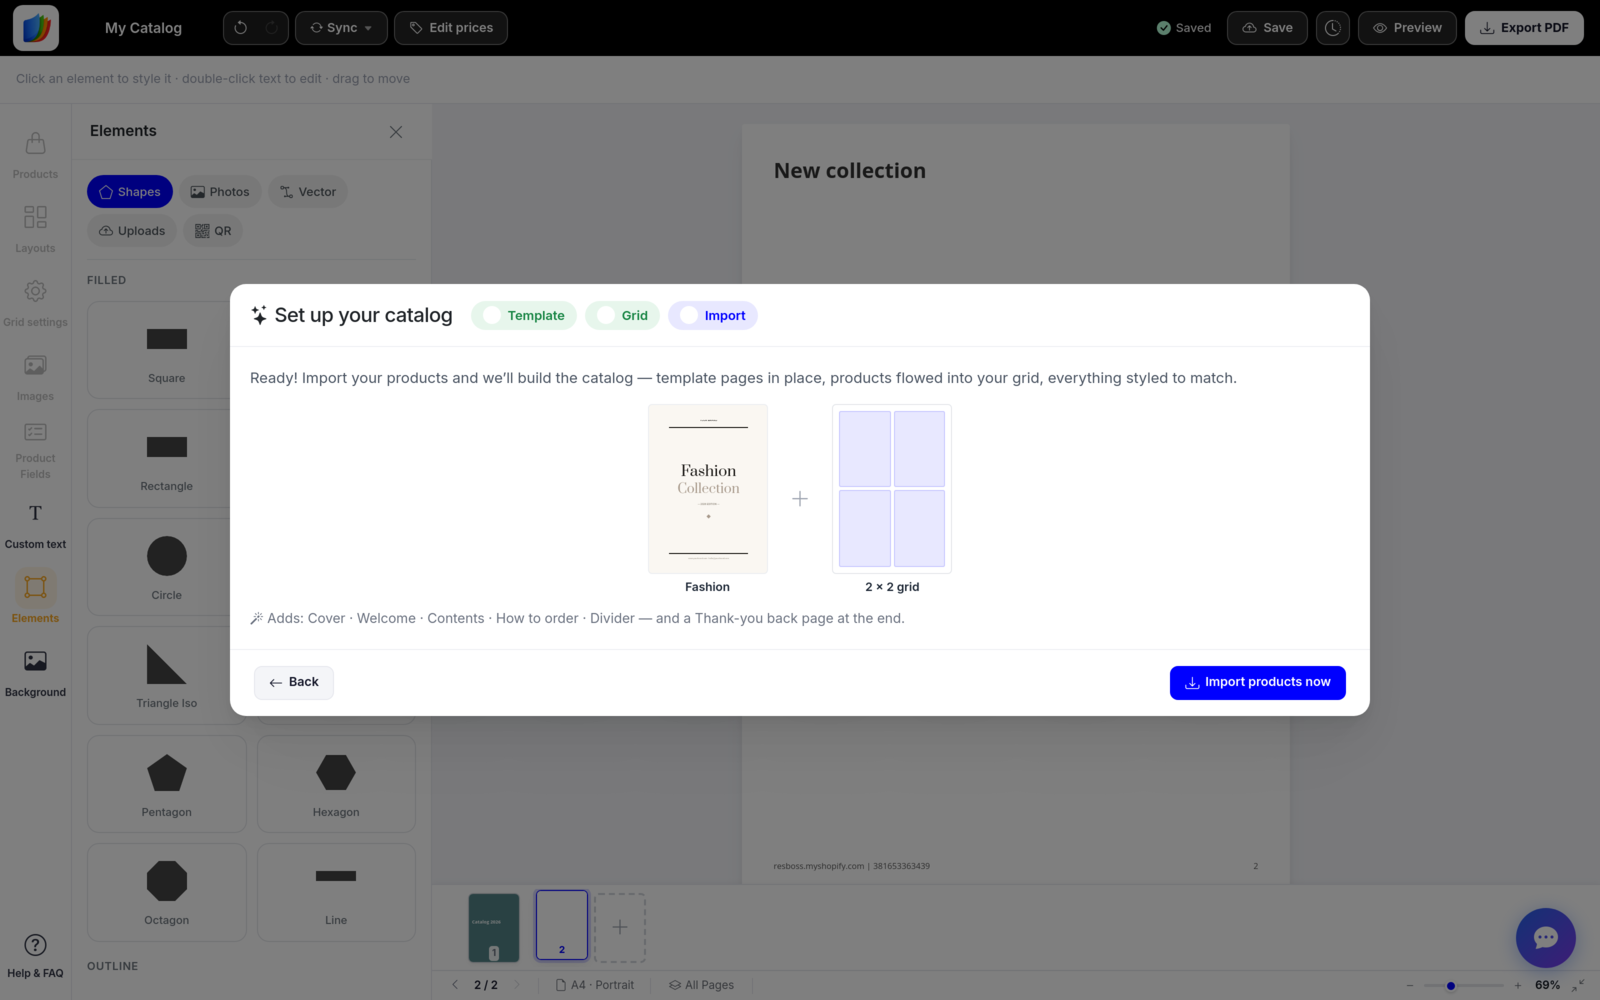
The last wizard step shows your combination—template plus grid—and lists what will be added around your products: Cover · Welcome · Contents · How to order · Divider—and a Thank-you back page at the end. Click Import products now.
Step 5: Import a Collection from Your Store
The import dialog connects straight to your Shopify catalog. You can import from collections, from an existing B2B catalog, or from a CSV file. Type into the collections box and the app finds the collection as you type—here we search for our VANS collection and select it.
Before importing you can also set the sort order and currency, and under Advanced Options apply a discount, import metafields, or start each collection on a fresh page—handy when you import several collections at once and want them as separate catalog sections.
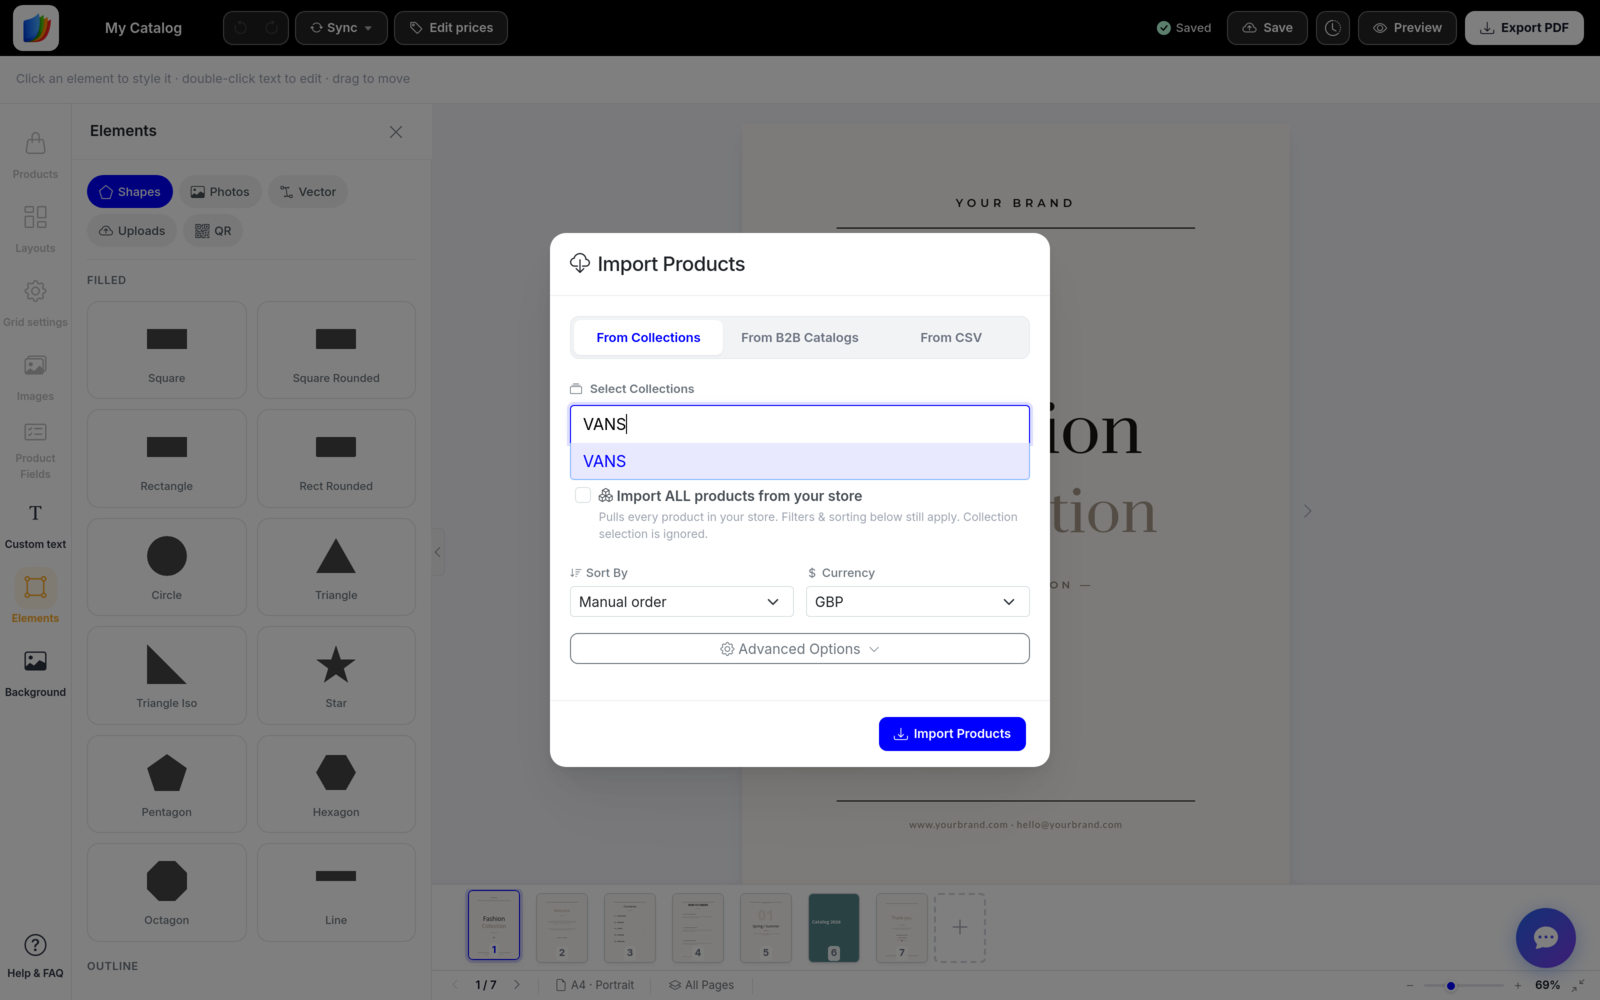
Click Import Products and the app does the rest. The products land in the left sidebar, flow into the 2 × 2 grid page by page, and the table of contents and dividers snap around them. Ten products came in and the catalog is suddenly ten pages, styled end to end.
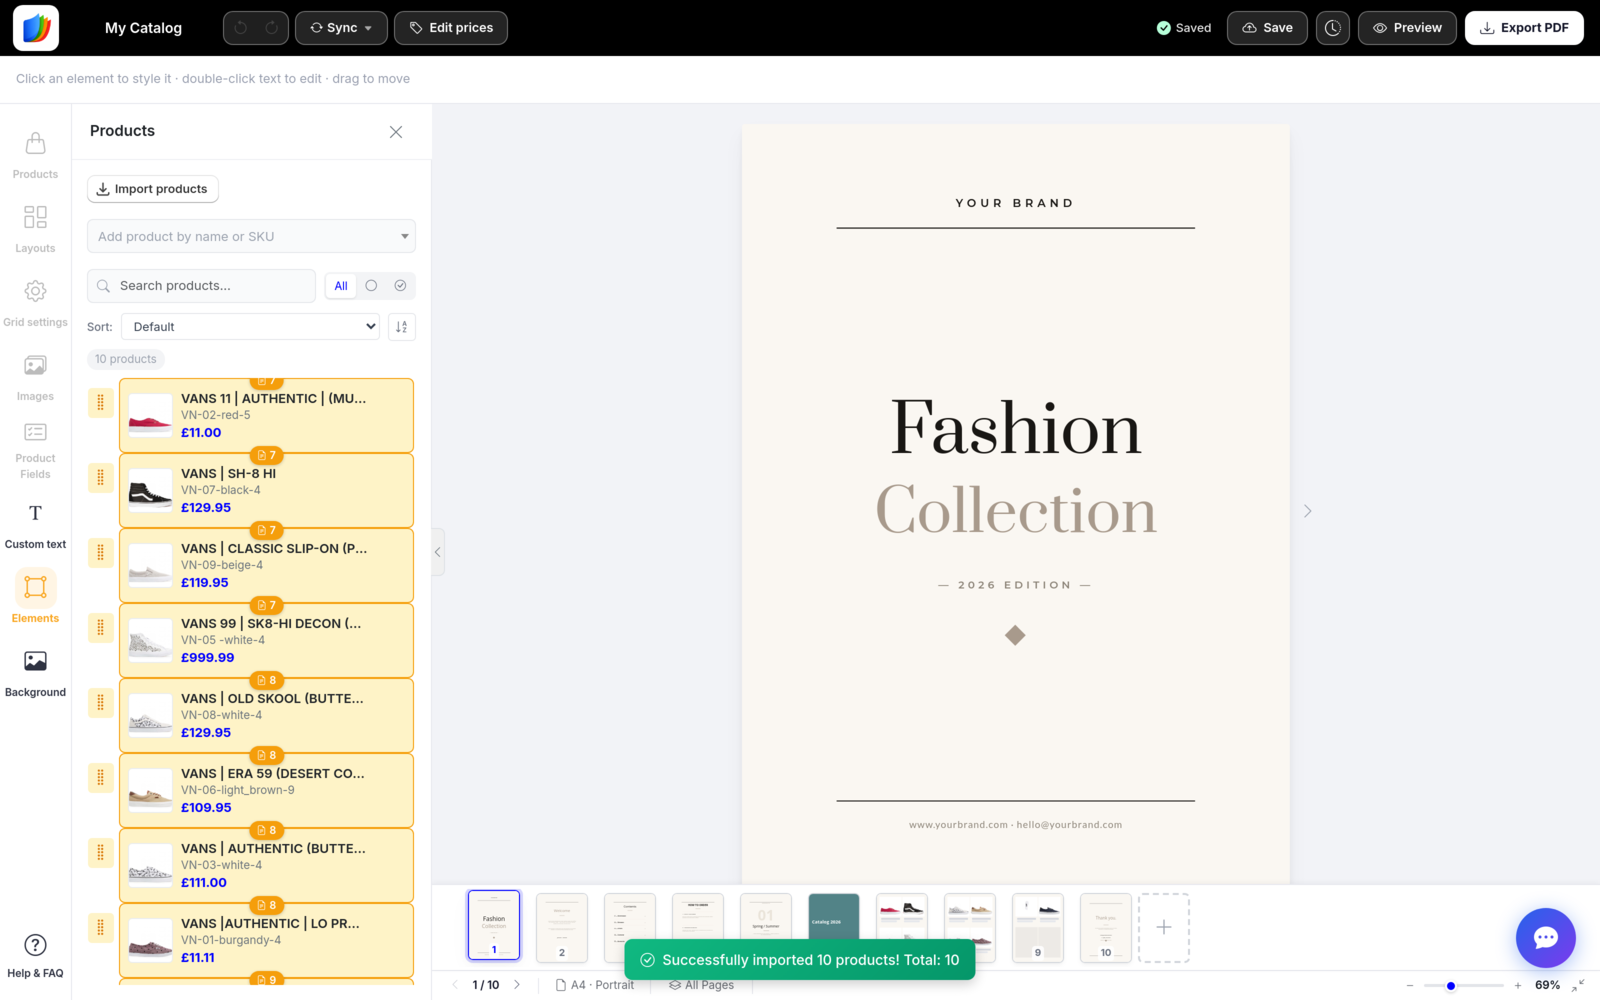
Step 6: Fine-Tune in the Editor
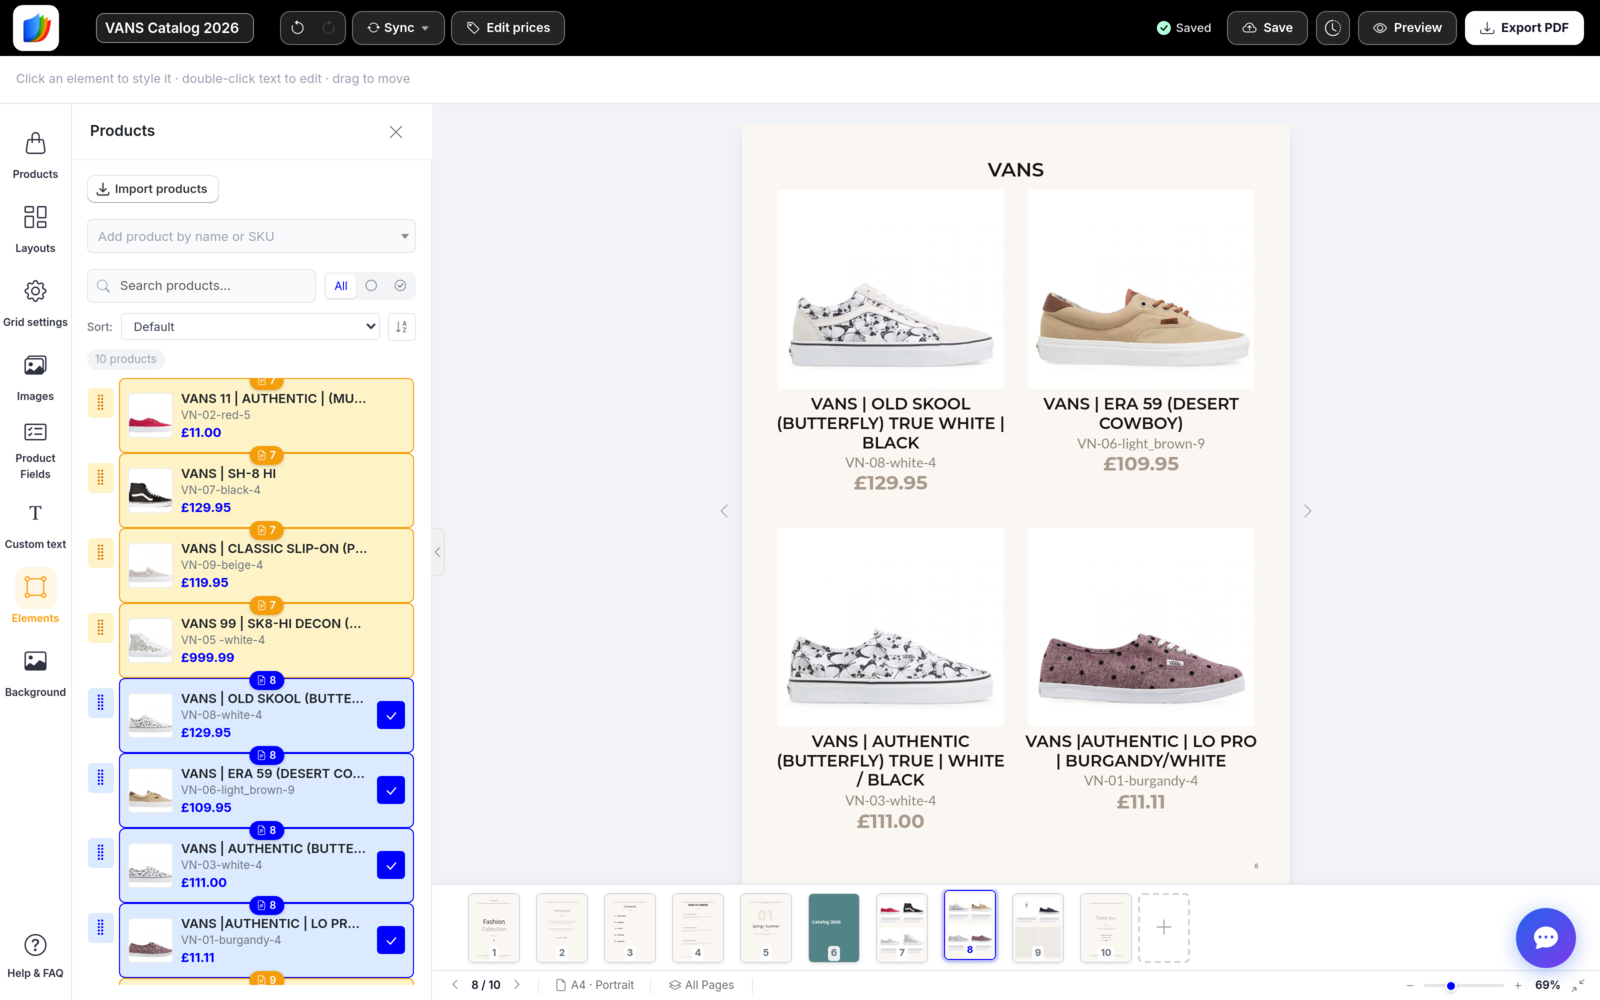
Now it's a normal design canvas, Canva-style. Click the catalog name in the top-left to rename it (we went with "VANS Catalog 2026"). Click any element to style it, double-click text to edit it, drag anything to move it. The left rail gives you products, layouts, grid settings, images, product fields, custom text, elements (shapes, photos, vectors, QR codes), and backgrounds; the bottom strip shows all pages, and the + tile inserts a new page anywhere.
Each product card shows the photo, title, SKU, and price pulled from your store. Need different pricing for the catalog? Edit prices in the top bar adjusts them without touching your store, and Sync re-fetches products from Shopify whenever your stock changes.
Step 7: Preview Before You Export
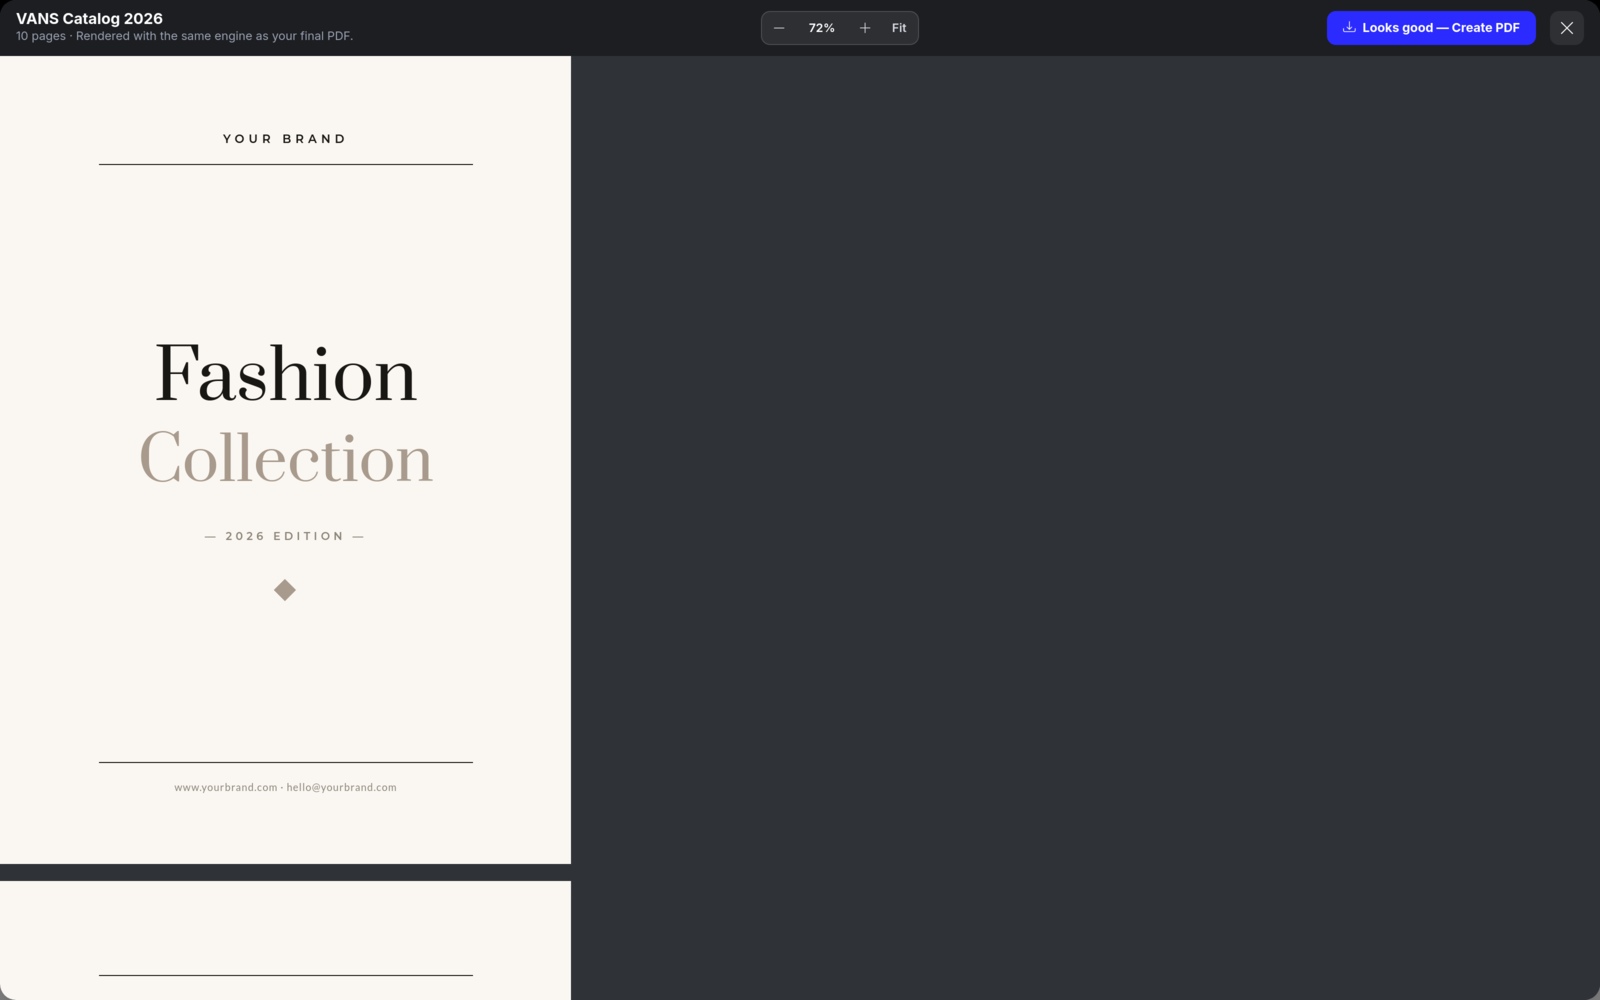
Hit Preview in the top bar. This isn't a rough approximation—the preview is rendered with the same engine as your final PDF, so what you see is pixel-for-pixel what the file will look like. Zoom in on details or scroll the whole document, then click Looks good — Create PDF when you're happy.
Step 8: Export the PDF
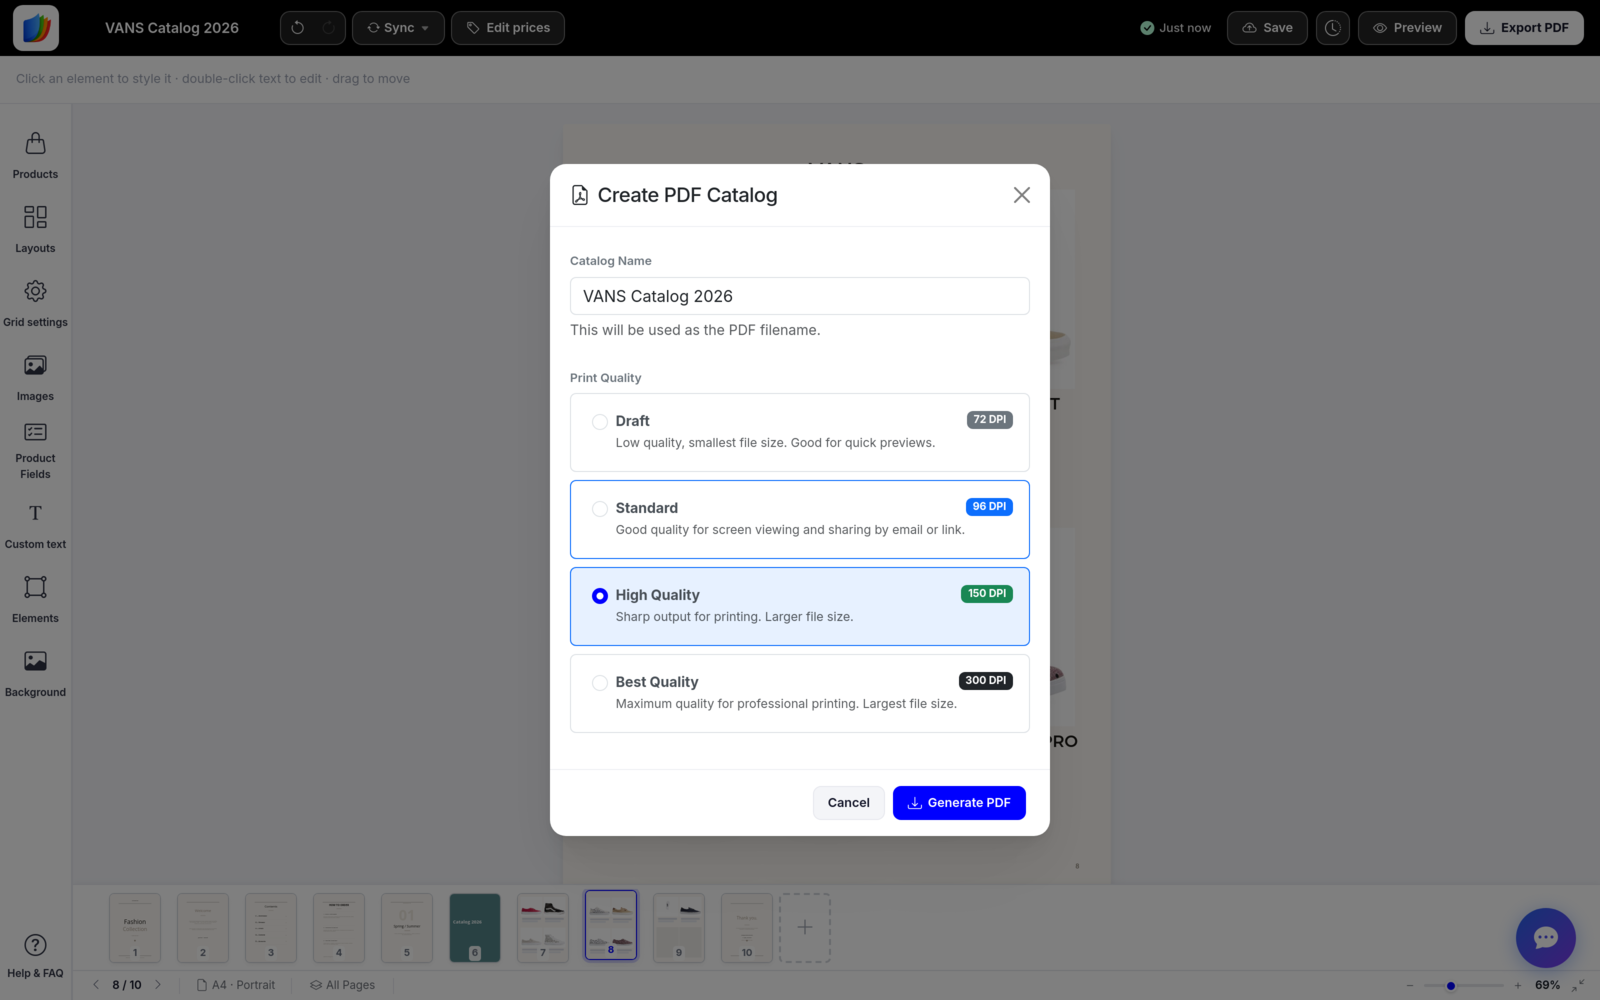
The export dialog asks for two things: the catalog name (it becomes the PDF filename) and the print quality—from a lightweight Draft for quick internal previews, through Standard for screen viewing and email, up to High and Best for sharp, professional print runs.
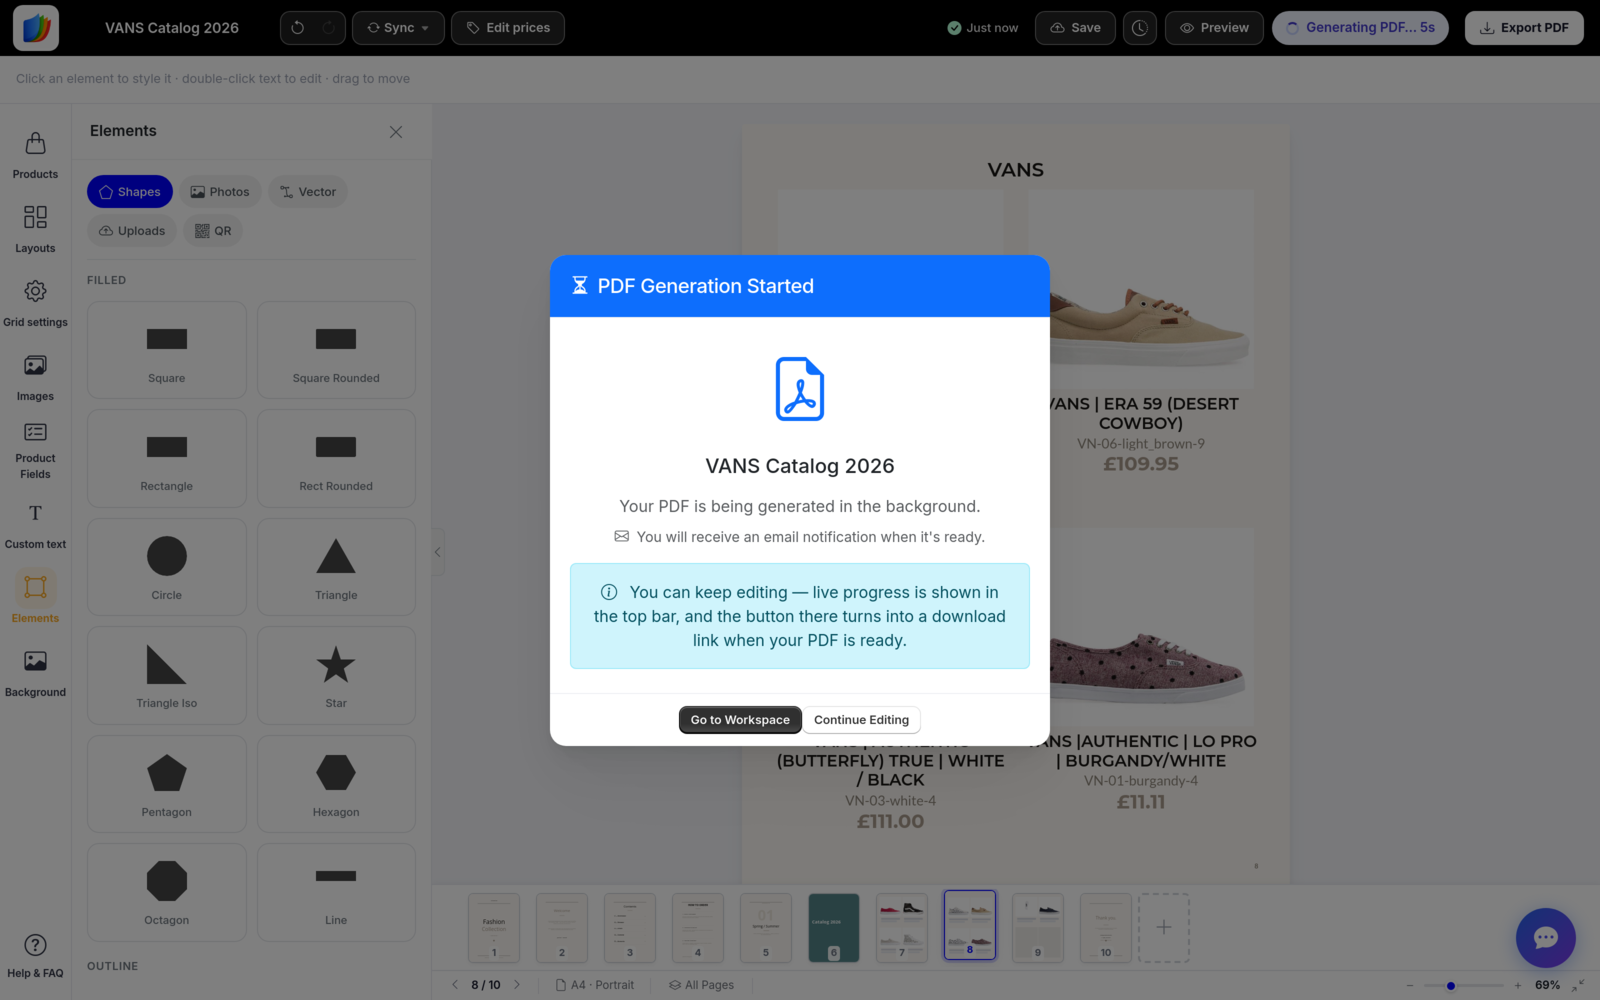
Generation happens in the background, so you can keep editing while it runs—live progress shows in the top bar, and you get an email when the file is ready. Our ten-page catalog generated in about eleven seconds.
Step 9: Share It Four Ways
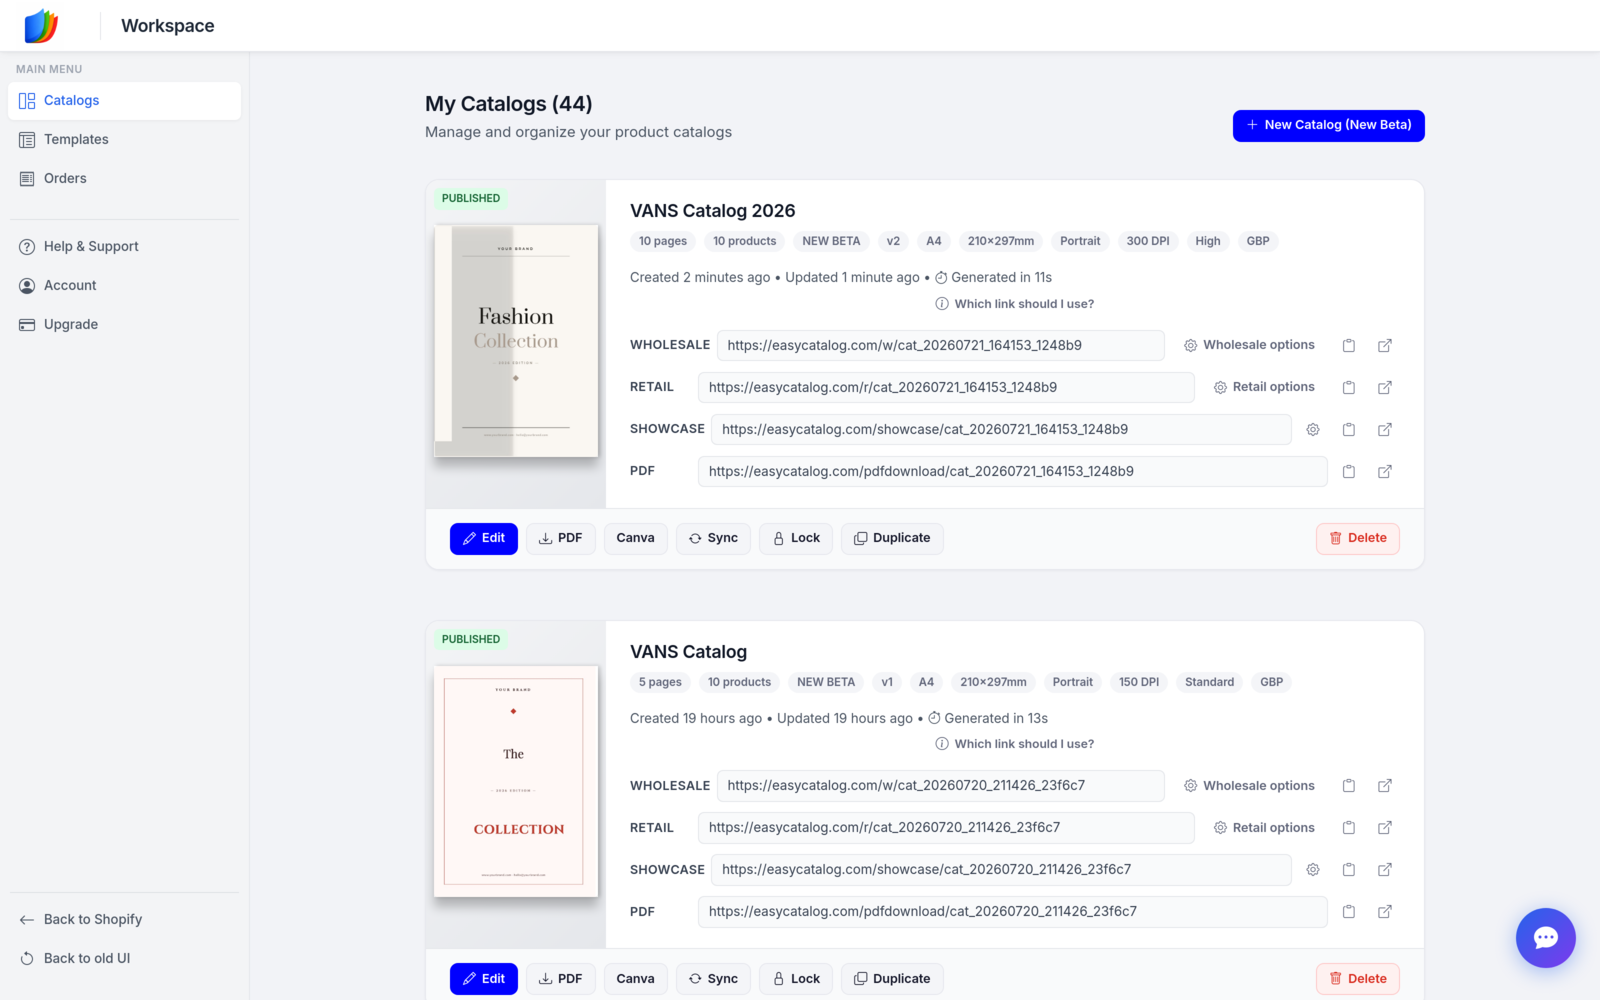
Back in the Workspace, the finished catalog sits at the top of the list with four ready-to-share links:
- Wholesale — a flipbook with an order form, for B2B buyers
- Retail — a flipbook where products link to your store
- Showcase — a clean browsing experience without prices in the way
- PDF — a direct download link to the generated file
From the same card you can re-Sync the catalog when products change, Lock it to freeze a season's edition, or Duplicate it as the starting point for the next one.
From Store to Catalog in Five Minutes
That's the whole flow: template, grid, import, polish, export. No design software, no copy-pasting product data, no waiting on a designer. And because the catalog is connected to your store, next season's edition is a Sync and one click of Export away—not a new project.
Try the New Catalog Designer
Pick a template, import a collection, and export a finished PDF catalog in minutes. There's a free plan to start.
Install Free on Shopify